
********GIVEAWAY IS CLOSED********
The Winner is Leanne Gifford!!


Do you want you own Summer Bag. Well you are in luck here is a tutorial and a givaway. I am calling this one the Paris In The Summer Bag, right after the tutorial you can enter to win this bag. If you don’t win just use the tutorial so you can stitch up one of these cute little bags and head out for the day. If you don’t sew you can head over to the Knot Sew Normal Storenvy page and buy one for yourself.


(I added a picture here labeling the pieces a little better)
Supplies Needed –
- Fabric
- Heavy weight interfacing
- D-ring
- Button, snaps or hook and loop tape
- Basic sewing supplies
1. Cut out your fabric –
- 2 outside fabric – 11×13 inches (pink fabric)
- 2 lining fabrics – 11×13 inches (tan fabric)
- 2 outside pocket fabric – 11×13 inches (1 paris fabric, 1 pink fabric)
- 3 interfacing pieces – 11×13 inches
- Inner pocket – 7×9 inches (paris fabric)
- Inner Sunglass Pocket – 5×8 inches (paris fabric_
- 2 straps – 5×26 inches (paris fabric
- 2 strap interfacing 2.5×26 inches
- Strips of interfacing for snap reinforcement
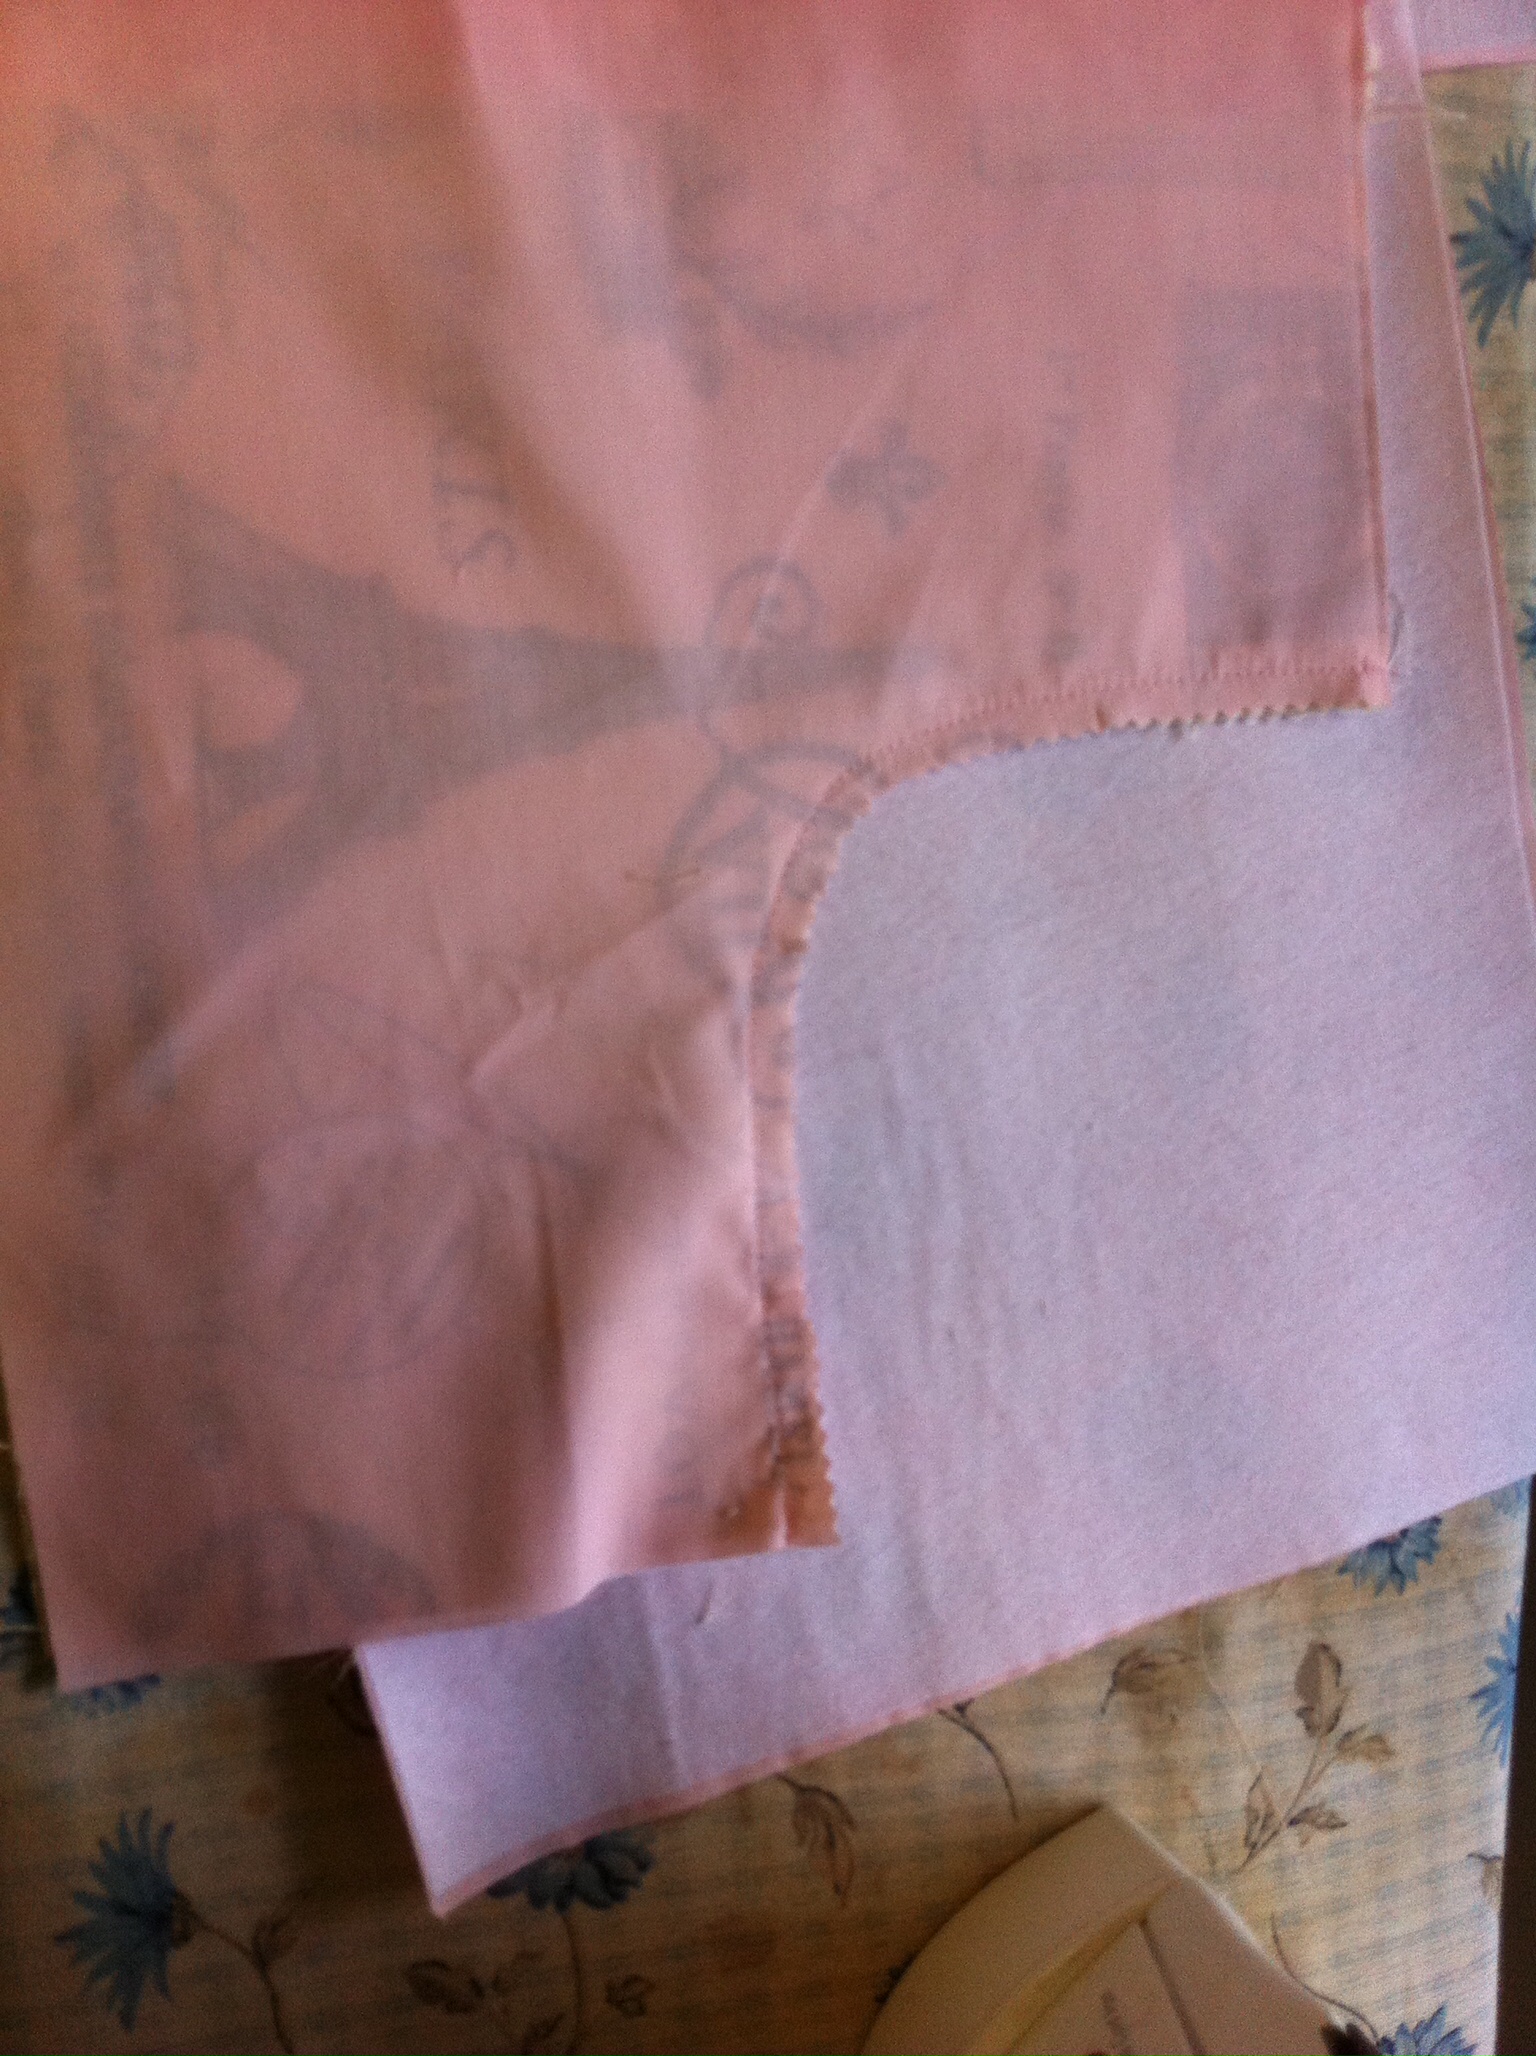
2. Cut out front and back of outside pocket pieces and 1 piece of interfacing.It is hard to see where I marked it. I measured in 6 inches on the top and 5 inches down the side and then just drew the curve in and cut it. you could also use a plate or bowl to draw your curve.

3. Add interfacing to back and front outside fabric piece, front outside pocket piece and on one half of strap pieces.

4. Finish the edges on your inside pockets. I serged my edges. If you don’t have a serger, you can use a zig-zag stitch or fold over and iron and fold over again.

5. After all your edges are finished press in all 4 edges 1/4 inch and iron. On top edge fold over another 1/2 inch and iron. Place interfacing in the top of the hem of the pocket where you want to place your snaps. Then you will topstich your top edge.


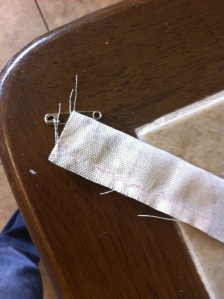
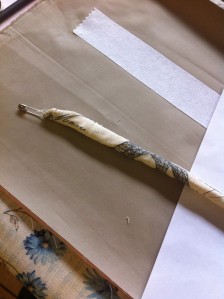
6. Sew your d-ring strap. Place RTS and stitch with a 1/4″ seam allowance, using a safety pin or a turning tool, turn your strap, and press it. Fold in 1/2 with d-ring and sew close to the d-ring. Baste your d-ring strap to the top of lining. I placed mine on the front lining.


7. Figure out where you want your long inside pocket and iron on interfacing to the wrong side of the lining to reinforce the snap area. Add your snaps to lining and to pocket.


8. Stitch pockets to lining pieces with 1/8′ seam allowance. Add a line in the middle if you want to separate your pocket.

9. Add your button to back lining piece. You can hand-stitch this or use your machine. I used to use my machine, but I have come to realize that I can have it sewn on by hand in the time it takes me to change out the presser foot and set the stitch up. 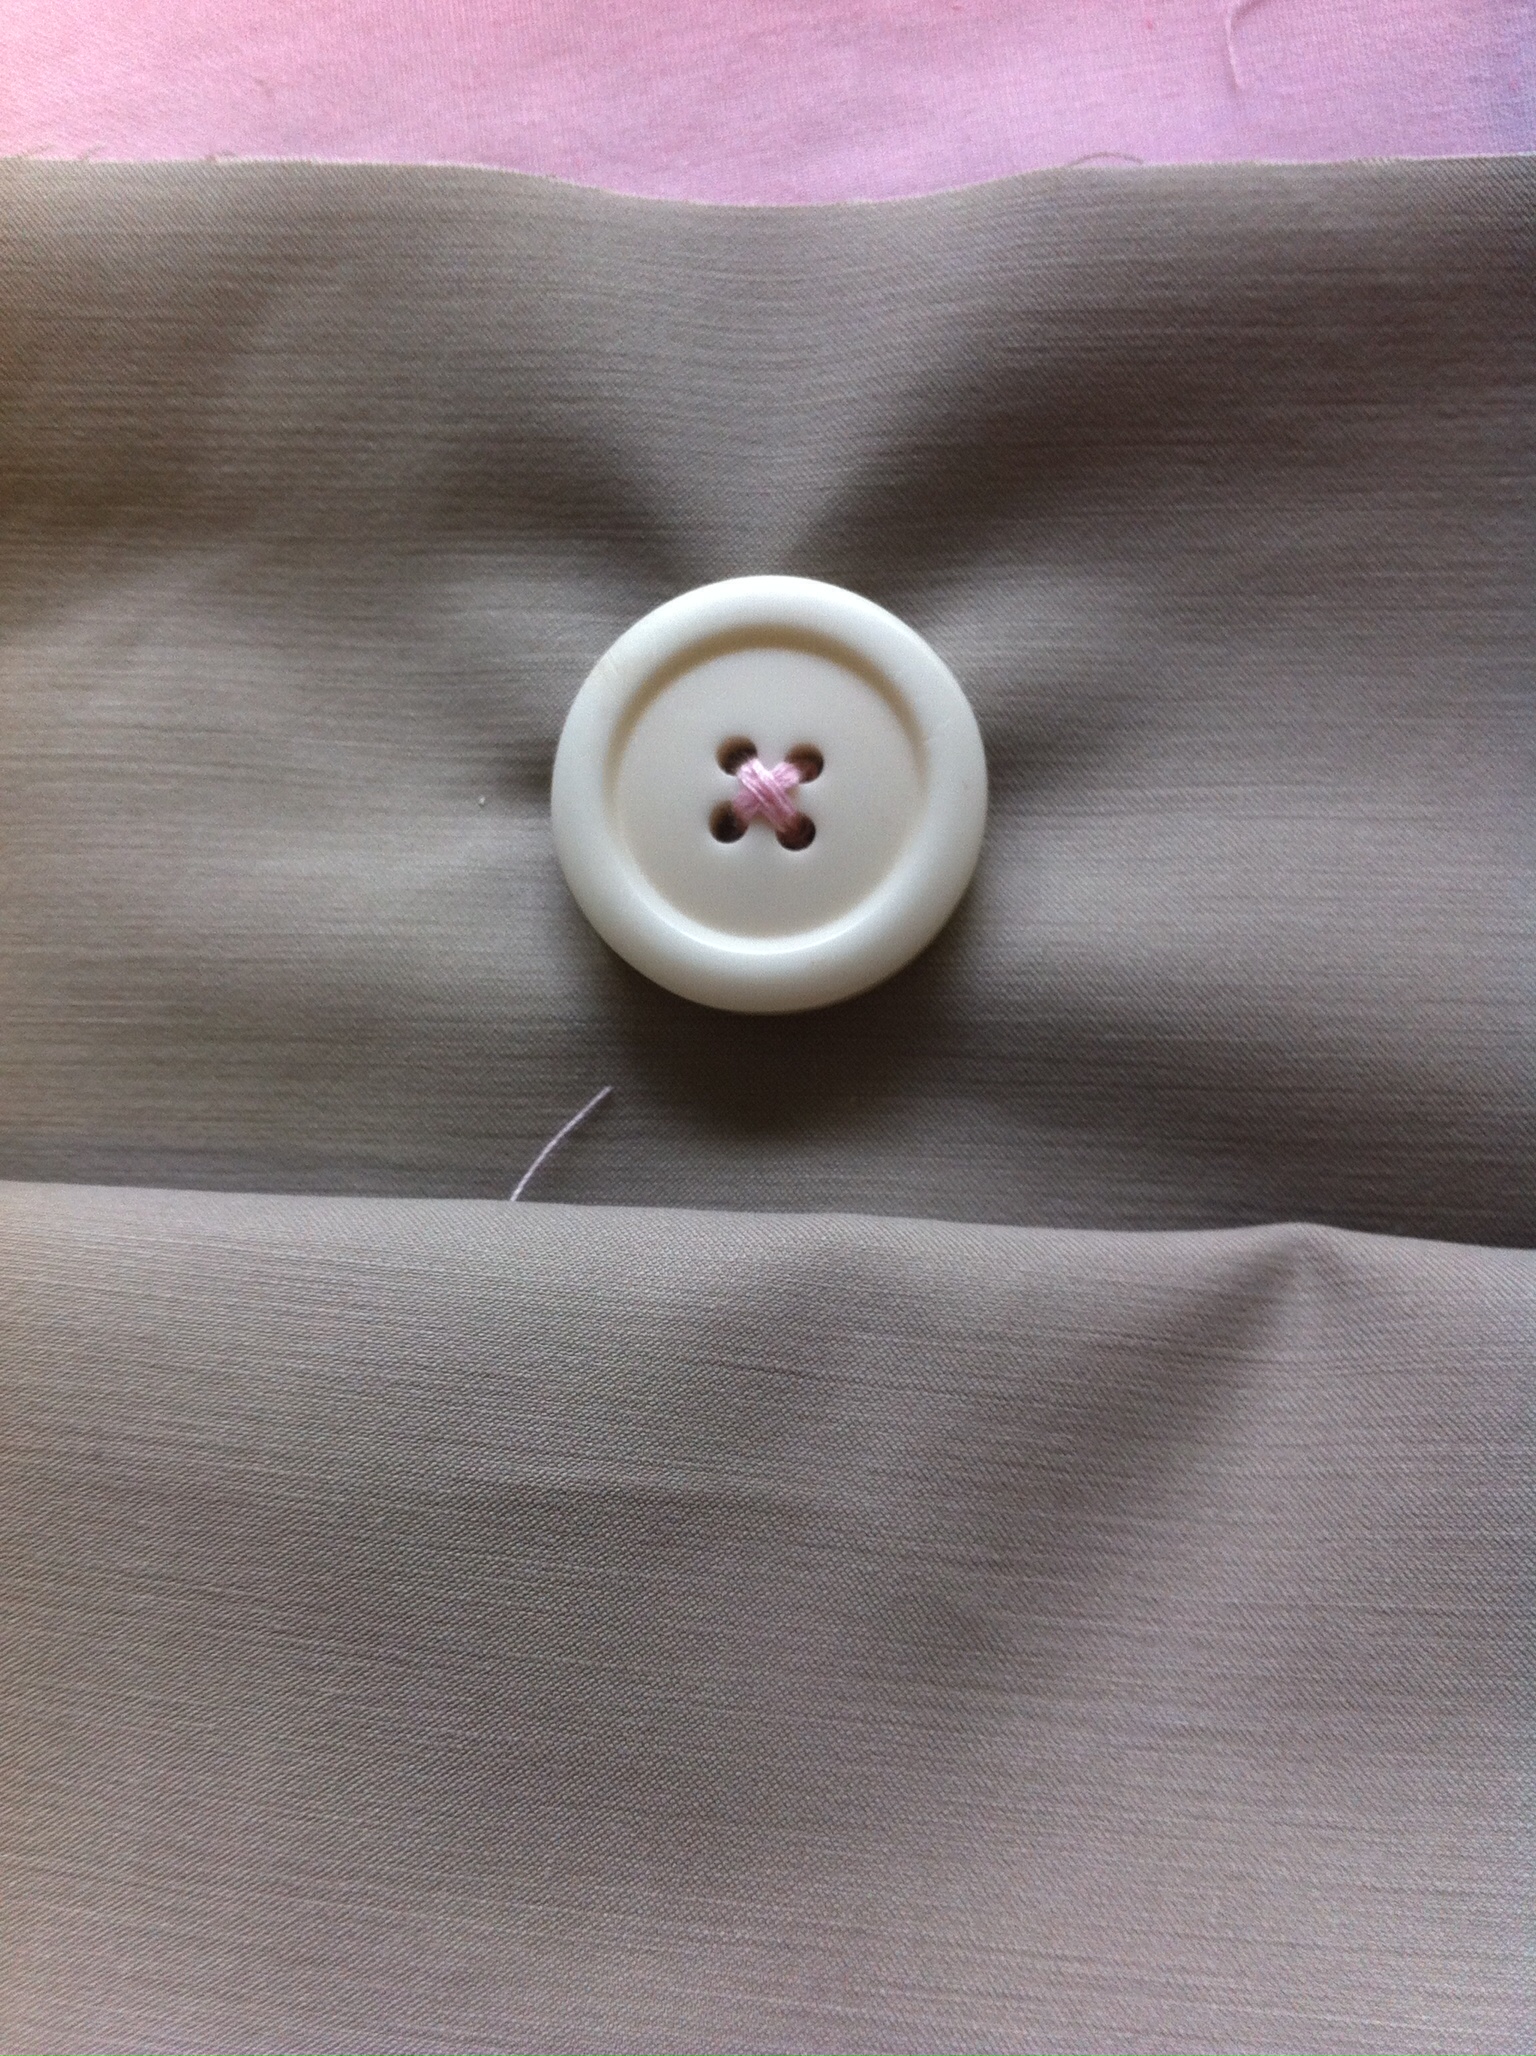
10. Place your lining pieces right sides together and stitch around 2 short sides and bottom with 3/8″ seam allowance. Trim the corners.
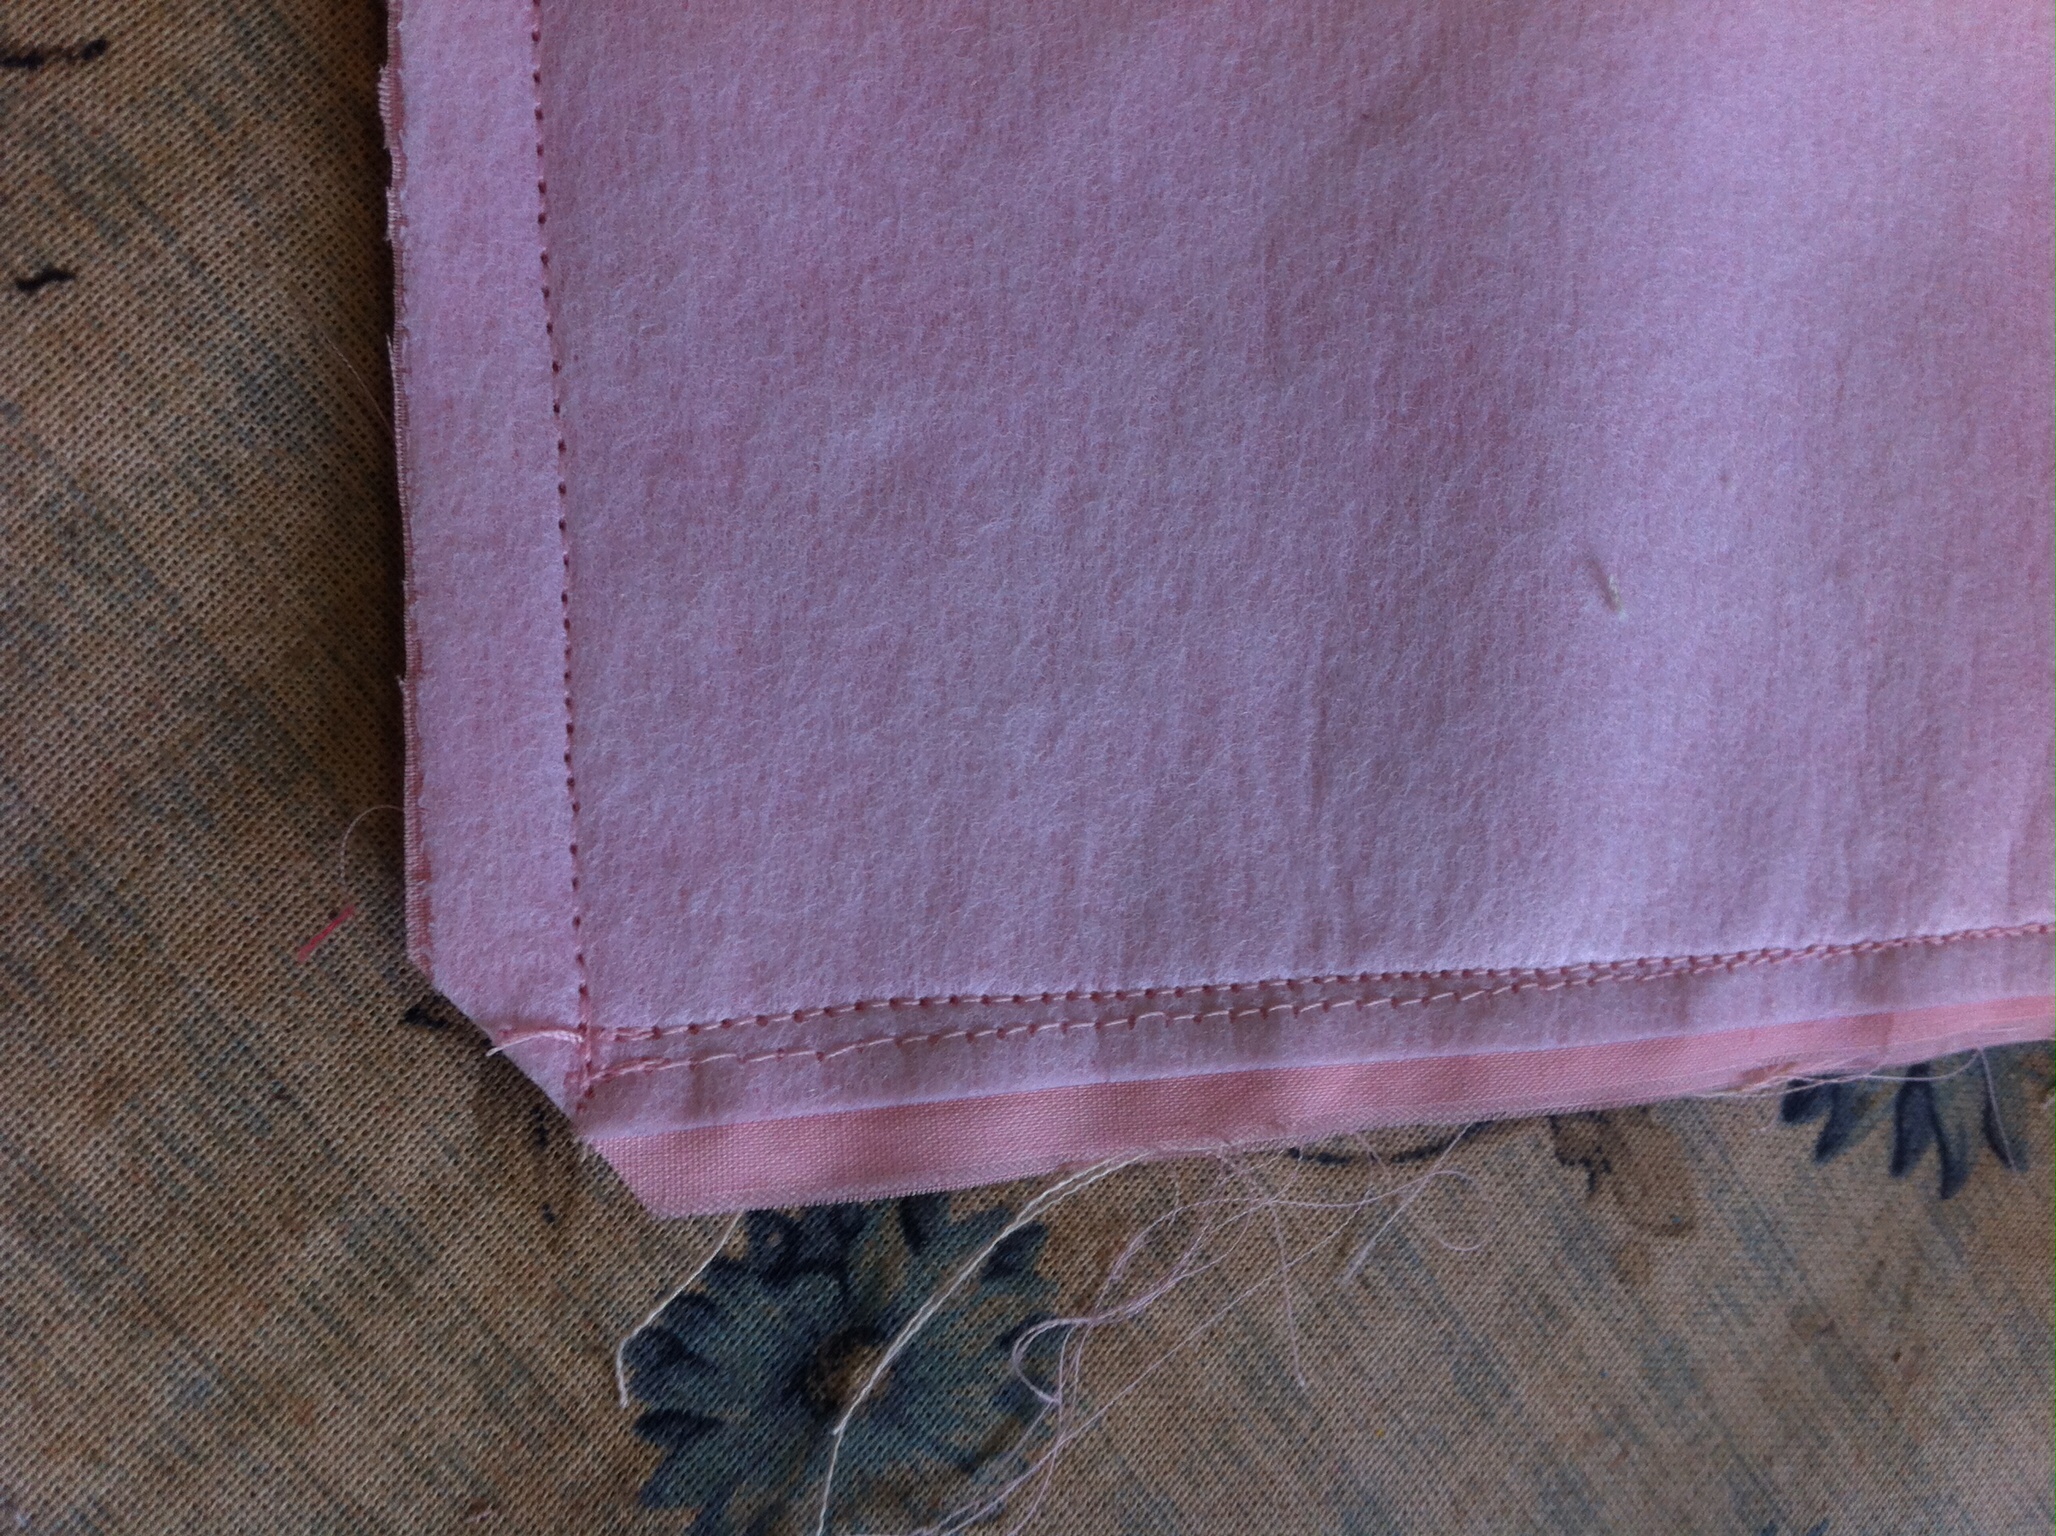
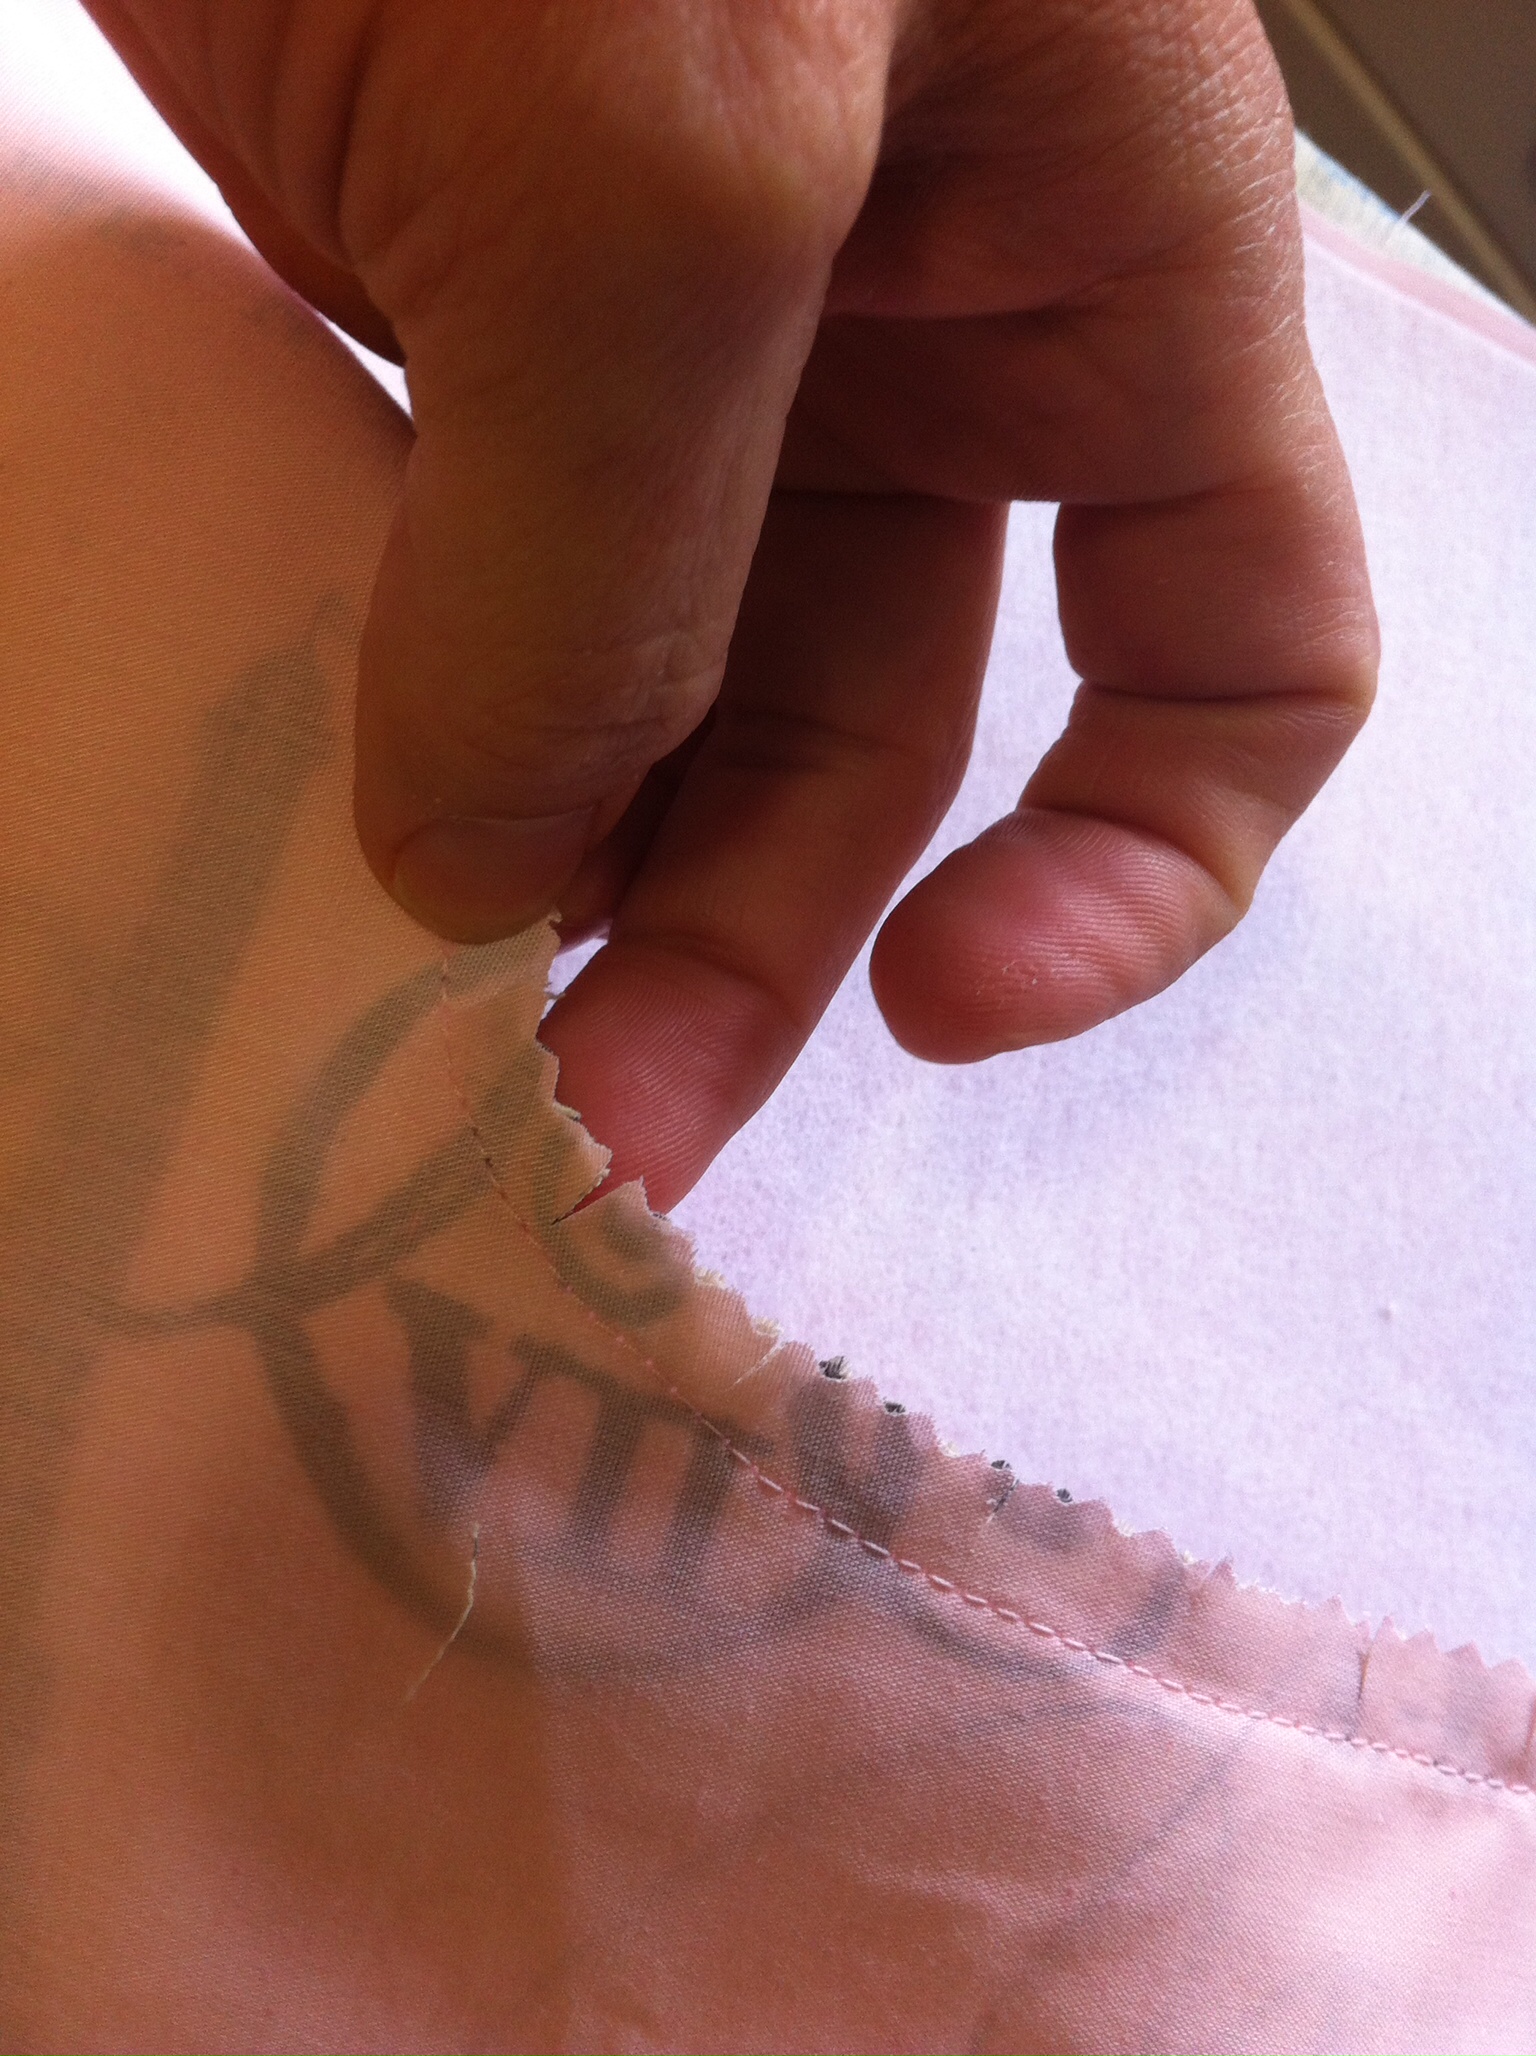
11. Now we are going to start on the outside of the bag. Grab your 2 outside pocket pieces and sew them right sides together with 3/8″ seam allowance, clip the curve, turn and press.
12. I don’t like to let things go to waste so I grabbed those 2 curved pieces I cut off the outside pocket, placed them right sides together and sewed along the sides, clipped the corners, turned and pressed. Fold top edges in, iron and topstitch.


13. TADA! Secret inside pocket from a scrap. Position it on the front outside piece and stitch down sides. Leave top open. Place your outside pocket on the front outside piece and baste along top, side and bottom.


14. Place outside front and back right sides together and stitch around sides and back using 3/8 inch seam allowance. Clip corners and turn exterior right side out. 15. Baste handles to bag exterior using 1/8 inch seam allowance. I like to stitch over this area several times to give extra strength.

16.Now you are going to put your exterior and lining together. You are going to slide the exterior of the bag into the lining of the bag. You want the right side of the lining and the right side of the exterior to be together. Make sure your straps and d-ring strap are down in there too. Pin all around and stitch using a 3/8″ seam allowance, leaving a space to turn the bag. 
17. Turn your bag. Pull the exterior through the hole, turn your lining right side out and then stuff lining into exterior. Press the top edge and the rest of the bag very well. Pin the opening, where you turned your bag, closed. Top stitch around the edge of top of the bag, making sure d-ring strap is to the lining side.

17. Add your buttonhole and TADA you are done. You now have your very own summer bag. Throw some sunglasses, a good book and some sunscreen in there and you are all set for a day out. 
********GIVEAWAY IS CLOSED********
Are you ready to enter to win your very own Paris In The Summer Bag. Enter Here! Just click on the rafflecopter link to go to the giveaway. Since I WordPress won’t let me add the rafflecopter widget please click the link below and the rafflecopter will open for you.
***If you are on a computer, you will see two links, you can click on either one. I had to add a second link, because the first link couldn’t be seen on mobile devices***

My favorite summer activity is gardening.
LikeLike
I love gardening. This is our first year with a big garden and I am loving it.
LikeLike
Doing fun things with the kids
LikeLike
I am trying to find something fun for us to do this summer. It’s our last summer before Miss G starts kindergarten!
LikeLike
Very nice layout and images for tute! ❤
LikeLike
Thank you so much!!
LikeLike
Love this bag!! I would love this for our upcoming metro trips!! Awesome job!
LikeLike
Thank you so much! I need to get to stitching one up for myself!
LikeLike
This bag is adorable! Thanks for the giveaway!
LikeLike
Thank you so much!!
LikeLike
I love reading in the sunshine and swimming at the lake or at the beach! And this little bag would be perfect for those activities 🙂
LikeLike
I love sitting out in the sunshine reading!!
LikeLike
My favorite summer activity is gardening and grilling!
LikeLike
I have been grilling at least 3 times a week!
LikeLike
My favorite summer activity is doing anything outside. Taking walks, gardening or laying by the pool.
LikeLike
I love being outdoors, especially if I have taken my allergy medicine.
LikeLike
My favorite summer activity is taking my son to the local creek so he can explore. He loves playing in the water, playing in the rocks and catching creatures.
LikeLike
Pingback: Willow & Co. Fawn Lily…at last | Knot Sew Normal
Pingback: Paris In The Summer Bag - Free Sewing Tutorial by Knot Sew Normal | PatternPile.com
Thanks for the share!!
LikeLike
Cute Bag!
LikeLike
Thanks!!
LikeLike
My favorite summer activity is swimming.
LikeLike
I love to swim!!
LikeLike
My favorite summer activity is sightseeing in our RV.
LikeLike
I love all the pockets in your bag! Especially that outer pocket. Very nice design.
LikeLike
Thank you so much! I love being able to access some of my stuff easily. 🙂
LikeLike
My favorite summer activity is sitting in the garden swing with my husband when he gets home from work and drinking iced tea! We love to listen to the sounds of the farm and the smells of the country. I love your bag so much! Thank you for taking the time to do the tutorial. Can you tell me who makes the Paris fabric. I think it just makes the bag! Kate
LikeLike
Thank you so much Kate. I got this fabric at Hobby Lobby. 🙂
LikeLike
Growing veggies and enjoying the beautiful flowers and colors in my yard.
LikeLike
I planted a cutting flower bed this year. I am so looking forward to it.
LikeLike
I love to work in my veggie garden and flower garden:)
LikeLike
I love weeding the garden, it is my meditation.
LikeLike
I love love this bag! I’m going to make a few for me and my friends to take to the beach!
LikeLike
If you make some I would love to see them!!!
LikeLike
Love visiting gardens open to the public (and also sneeking peek into private front gardens). Would pop a notebook into this bag to jot down any ideas they gave me for my own patch
LikeLike
Love the bag pattern… Thank you very much… Just hope I can follow the pattern .
LikeLike
I love walking along the sea shore watching the waves come in and the sun set.
LikeLike
Lovely!!!
LikeLike
My favorite summer activity is sitting poolside or lakeside reading a book, or listening to an audiobook while knitting.
LikeLike
I have recently discovered audiobook and podcasts are great to listen to while I sew or crochet.
LikeLike
My favorite summer activity is gardening and sitting out watching the chickens and goats go about their day. I also love summer because I have all the boys together all day. No one getting up and leaving for school each day.
LikeLike
I know that having Gracie home will be one of my favorite things next summer!!
LikeLike
What does the back side of this bag look like? Is it the same fabric as the large outer pocket (Eiffel tower fabric)?
LikeLike
I’m sorry to bug again but I’m a bit confused…I don’t understand where that strip of pink floral fabric is listed in the tutorial, the piece sewn to the edge of the outer pocket.
Can you please edit your tutorial in Step 1:cutting the fabric and list which fabric goes with what piece? I’m a visual learner, It’s a bit difficult to tell which fabric is the lining, exterior, outer/pockets, in the step by step photos.
I really want to make this bag, I have a stash of fabrics that would look great for this tote.
Thanks so much!
LikeLike
Sorry the pink floral strip was an accident on my part, I cut my pocket piece wrong and had to add a strip of fabric on. If you want that accent you can make it whatever length you like.
I added a picture with illustrations. if you need anymore help let me know.
LikeLike
Thanks so much for the super quick Wonder Woman response and clarification! I really like your “mistake”, I am going to steal it and use it for sure. I noticed the fabric measurements didn’t match with the pics of fabric pieces on the cutting mat, so I’ve been scratching my head thinking that I must be really bad at math!
Now I’ll have to really use math to figure it out…dang!
Thanks again for adding new fabric pic with labels…HELPFUL!!
Now I can get on with this,
Ronnie Sew Loca
LikeLike
I would tell you my exact measurements on that part, but my son got a hold of my notes and “decorated” them for me. I am pretty sure the strip was 2.5 inches wide. 🙂
LikeLike
I also have a lot of “mistakes” that I end up having to fix. Stay tuned to Jonie’s Blog of Blunders for more amazing fixes. LOL!
LikeLike
Pingback: Tutorial: Summer Bag with lots of pockets, including a secret pocket | Sewing | CraftGossip.com